I was delighted to be asked to review the grofresh KITCHEN GARDEN by wizal (wizal.co.uk)*. I like growing herbs and veggies. When it comes to growing though, I find that the perennials are not as demanding, so I prefer to grow those, like a few types of mint, thyme, rosemary, strawberry, and a raspberry bush. Last year I’ve had edible flowers too. I’ve seen indoor gardens, but I didn’t get one, so I was very excited to get the parcel and set it up.
The grofresh KITCHEN GARDEN are manufactured in England, by a company that is new on the market. They have quite interesting plans to develop new items. Their plans include improving the grofresh KITCHEN GARDEN too, by making a new design for the packaging. I think it looks great now too. If you fancy getting a grofresh unit for you (or as a gift), I have a £10 discount for my readers: WZLKG3 (use at checkout).
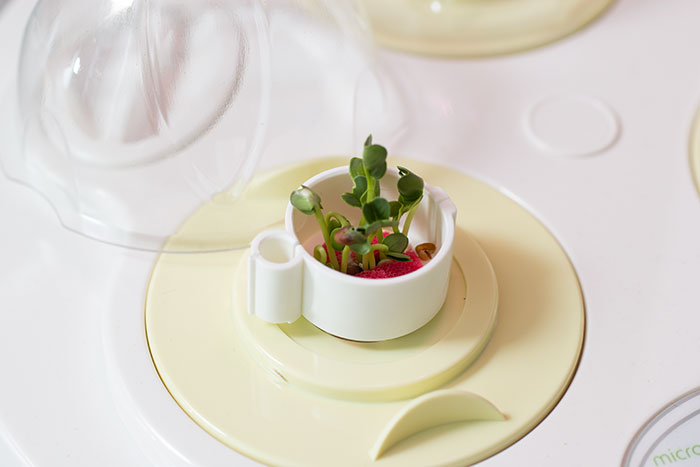
As you can imagine, by looking at this picture, I’m very pleased with my grofresh KITCHEN GARDEN. This was meant to be an unboxing and setting up blog post. I had no idea I will be able to show something actually growing in a matter of days! Of course, it matters what kind of seeds you are using. I planted three different seeds and only one has small plants. Another one is starting to germinate and the third didn’t do anything so far.
I’m going to talk a bit more about the plants at the end of this post.
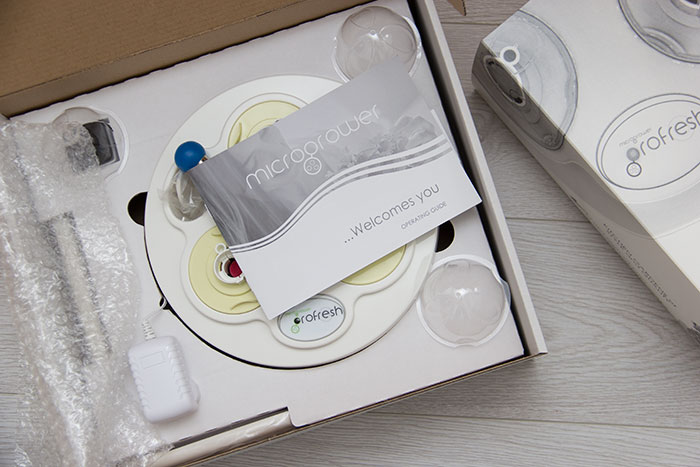
So, now for the unboxing part of the post. I’ve received the parcel fast, I had my seeds ready, and I was excited to start assembling the grofresh KITCHEN GARDEN.
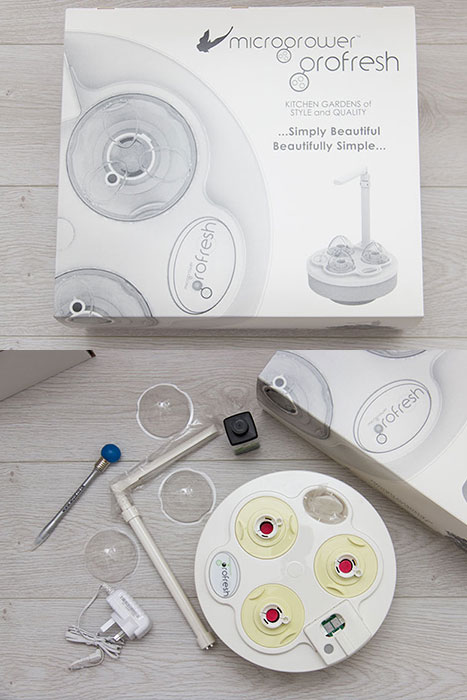
This is what’s in the box, including a fun looking pen. I was a bit overwhelmed by the instructions and I’ve asked my husband to help with it, not only by taking pictures. In fact, the instruction manual is quite easy to follow, but it’s the fear of doing something wrong which will lead us to not having crops (that’s the scary part). Joking aside, if you read the manual carefully, is very easy to understand how to assemble the grofresh KITCHEN GARDEN.
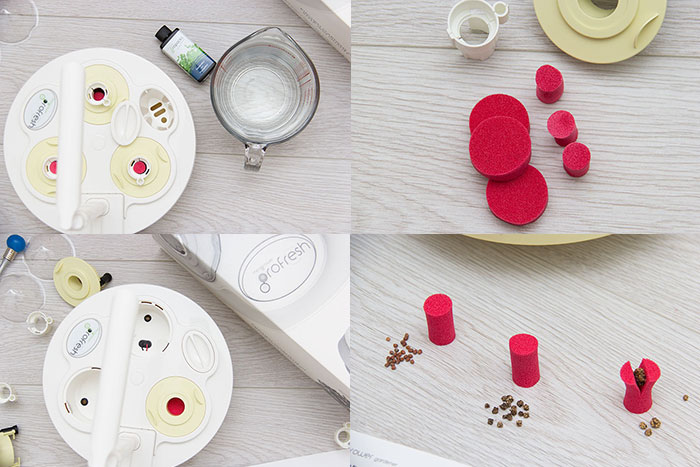
The tank should be filled with water. A bit over 1l, but not too much, respect the instructions. The plant food is dissolved in the water and is poured in the tank through the small funnel-shape that you can see in top-left. Next step is to soak the sponges in water. Each pot has a long sponge for the seeds to go in and a bigger round sponge for the bottom of the pot. They soak quickly and the excess water should be removed. Put the round sponges in the pots and the pots back into the grotank, like in the bottom-left.
Then, cut the small sponges and add the seeds. I’ve used micro herb seeds. It seemed like a good idea, but now I want to change them. I’m going to wait until they start sprouting, then I will transfer them into pots and I will keep them outside or in the conservatory. As a crop, salad needs a lot of space. I will replace those seeds with tomatoes, chillies, and cornichons. It makes more sense to grow bigger plants.
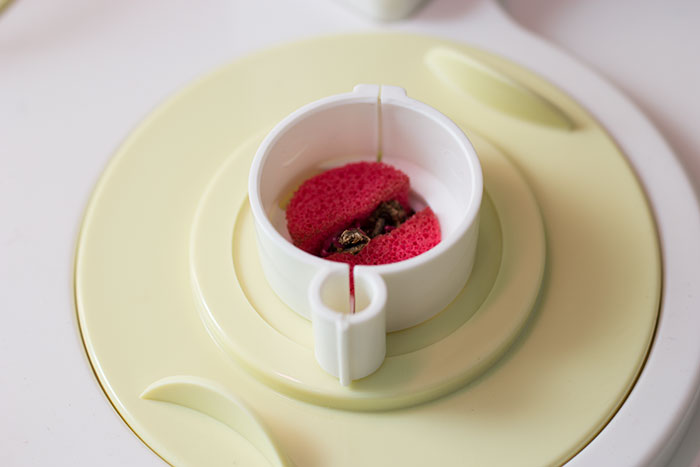
This is how the seeds look like in the pods.
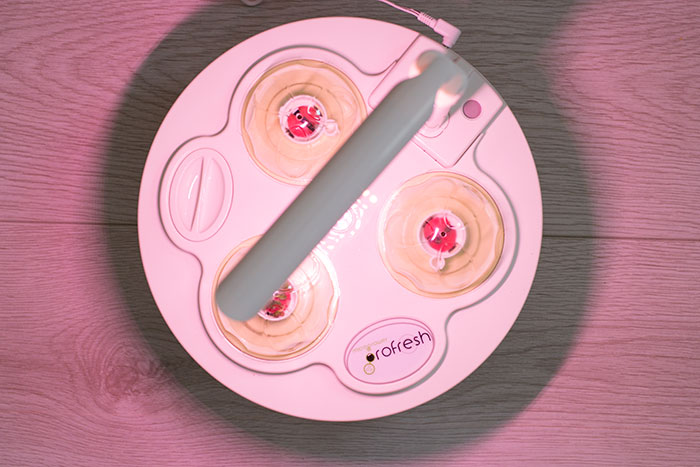
The light is on. The first grofresh KITCHEN GARDEN I’ve had was faulty, only these lights were working, and not the pump. The customer service was amazing, it was changed fast. I’m really pleased with this. Things can go wrong, how a company solves the issue makes the difference between an amazing company and well, one that is not good.
The LED lights are staying on for 16 hours, off for 8, then go back on for 16 hours. There is a button that will switch on or off the lights. The grofresh panel is where you can change the watering settings. There are three settings for watering, and you can chose the best one depending on how much or little water the plants you are growing want.
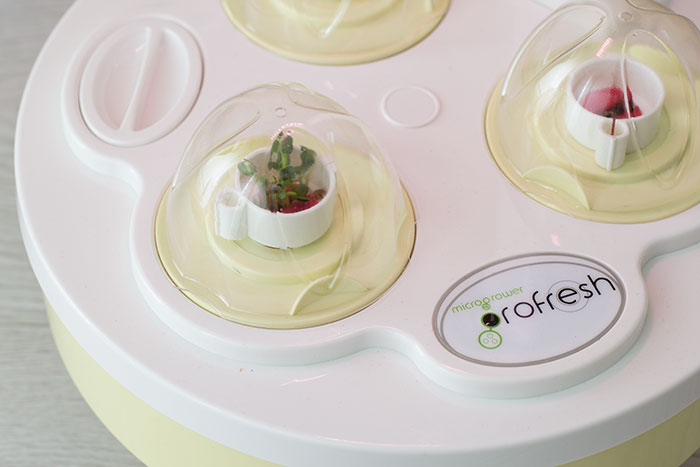
grofresh KITCHEN GARDEN. Technical details
Dimensions: 26 cm x 26 cm x 37 cm
Capacity: 2 Litres
Weight: 1.1 Kg
Power: 12V 24 WV DC Mains Power
Watering: Single Micropump water system
*PR sample. All opinions are my own.


I’ve never used straws – but I do like these stainless steel ones…great idea
Thank you for the comment. I imagine it was meant for another post, about the steel straws. :))
This looks cool, I first thought you’d planted your seeds in a coffee cup 🙂 Very quick progress which I like. I’m super pleased with my seeds growing on the balcony.
I’ve just had my own delivered and can’t wait to plant some seeds! My mum is very excited about the gadget haha. Pleased to see it works though!
Oh! What a fabulous cute little pot that is or even a lovely gift idea for friends. Totally love this and I know if I get the kids involved they will enjoy doing this with me too.