This DIY project, for upcycled plant pots, was more a happy coincidence than something planned. I had these old plant pots for many years, here is a picture of them from four years ago, when they were still looking good. We replaced one of the garden fences and I painted some of the new fences balanced on the plant pots. Naturally, I smudged them with paint, so the idea came to paint them entirely.
The worse case scenario was that the paint will look terrible and that I would have to throw them away, which was what I intended to do anyway, as they were not looking good and I wasn’t using them. But, the best case scenario was that I would end up with cute upcycled plant pots, which will match the outside conservatory paint. Luckily the project was a success.
If you want to try something like this at home, it’s very easy and the results are great. But be aware that because the paint is not designed for plastic pots, it is possible to scrub it off with a rough brush. Although, I imagine not many people would actually clean their garden pots using rough brushes anyway, so it’s not really a real problem.
Firstly, clean the pots as good as you can, using a rough brush, to remove all the dirt. Leave the pots to dry of completely. On a sunny day, this will take only a couple of hours if not less.
Now paint the pots with a shed paint. These come in all sorts of colours and they are really good outdoors. I used a light green paint and a roller. A paintbrush can leave marks, so a roller is a better choice, but it is a bit harder around the corners. Regardless of what you are using, put the brush or roller in a plastic bag between uses. It will keep the roll moist and you can use it again and again, for days. It saves some money and, of course, it means less waste thrown out.
Start with the back of the pots and paint them twice. The second layer of paint should be applied about one hour after the first one, if the paint is dry. Then, leave for a few hours, before flipping the pots and painting them on the inside. They will need two coats to be fully covered. Depending on the quality of the paint or if the plant pots are coloured, then an extra coat might be needed.
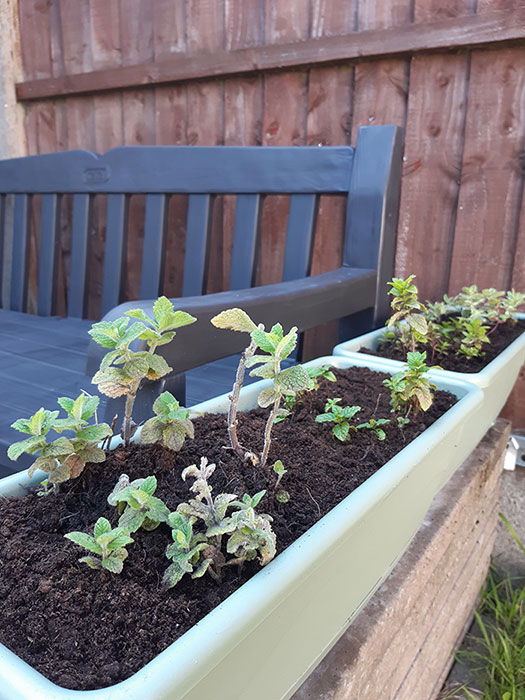
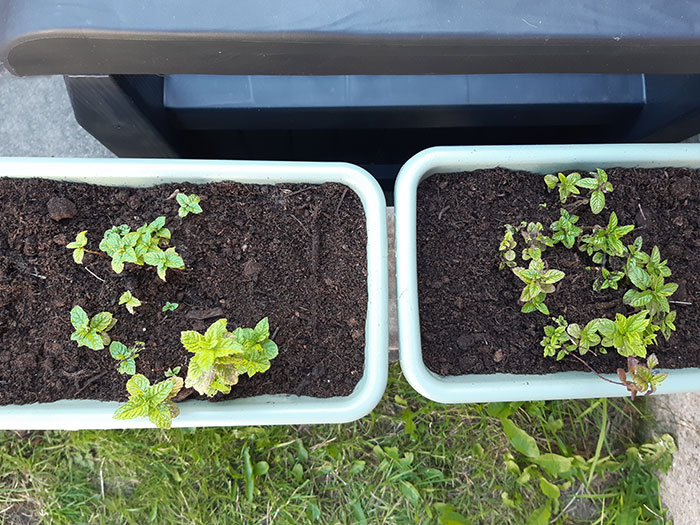
In my cute upcycled plant pots I put the mint plants. We have four of those: standard mint, pineapple mint, apple mint, and spearmint, which are so handy to posh-up a cocktail. My dog also enjoys a leaf of spearmint or mint, but not so much the apple and pineapple varieties.
It rained heavily this morning, but the plant pots are looking good. I’m very pleased with them and I would highly recommend trying this with some old pots, destined for the bin.


How cute that your dog likes to chew mint leaves. You did a great job with the painting. Upcycled pots look lovely.
These look really good! I’ve never thought of painting old plant pots but you’ve inspired me to have a go with some of ours now 🙂 Lisa
They look wonderful, Anca, and I know so much better than they did before. Well done. I might have to try that with a few of mine that are looking a bit shabby.
It’s always nice when something can be updated or repurposed. These turned out looking very nice!
Love the pots! I will be moving soon, and I am super excited to start acquiring more plants. I only have a few succulents right now, but I want to add a bunch more to my home! 🙂
Jenna ♥
The pots turned out great! You had a very good idea, and you avoided putting them in the bin by painting them and just waiting to find out whether it worked well or not. Thank you for sharing the process!
Julia x
Thank you. I’m so happy I did not have to bin these, as they are study plastic, which lasts for ages. Now I’m thinking of painting some more pots.