We’ve had our caravan for a while now, more than three years. We’ve changed a couple of things, but we wanted to do more. When the reading lights started to act out and needed replacement, we’ve decided that’s a good time to make all the caravan renovations we were planning.

When we bought the caravan we said that we want to see if we like caravanning, so we shouldn’t spend a lot of money on something we might not be able to sell fast if camping this way was not for us. Well, after four years and plenty of nights slept in the caravan, I can’t imagine selling it off. Because it’s old, it has character too. So, the better choice was to update it instead of selling it and getting a newer one.
I love how it looks right now, so all the efforts in making the renovations really paid off. It also needed some repairs and we’ve done those as well. It was more complicated than we thought initially, but well, we managed it and we are very happy.
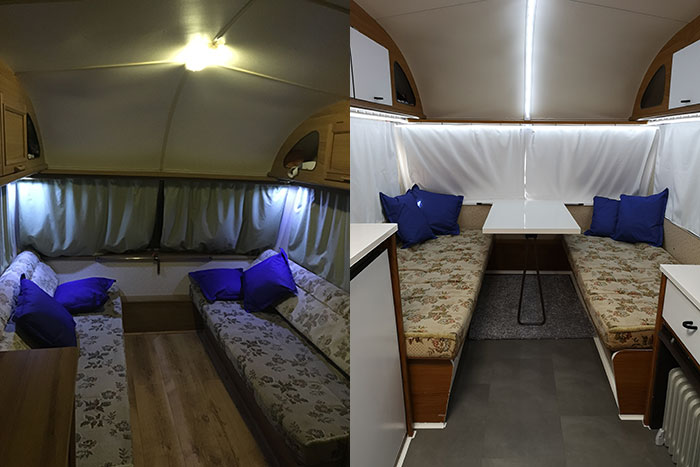
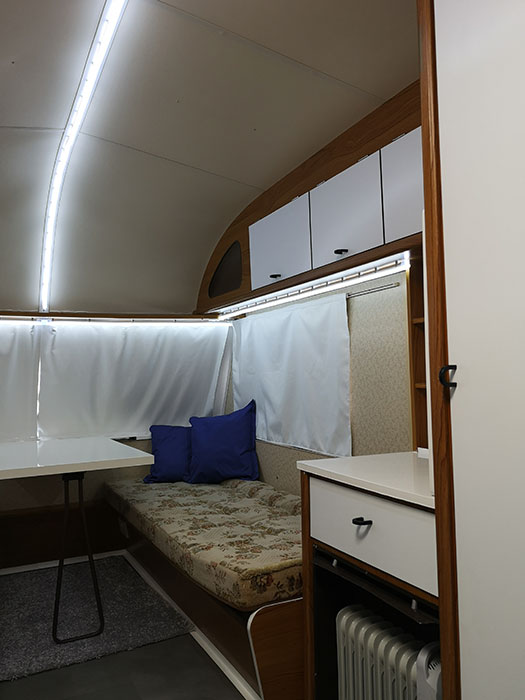
This is a before and after picture that shows how huge the transformation is. As you can see, the lights were not as bright as they should have been. So, we’ve changed those with LED light strips. That makes a huge difference. We have now lights on the ceiling, on top of the front window and on the sides, where the sofa is.
I will make a few more pillows for the sofas, from the same fabric as the new curtains. I made those myself too. The main reason why I got the sewing machine was to make the curtains for the first time and now I’ve made new white and light grey curtains.

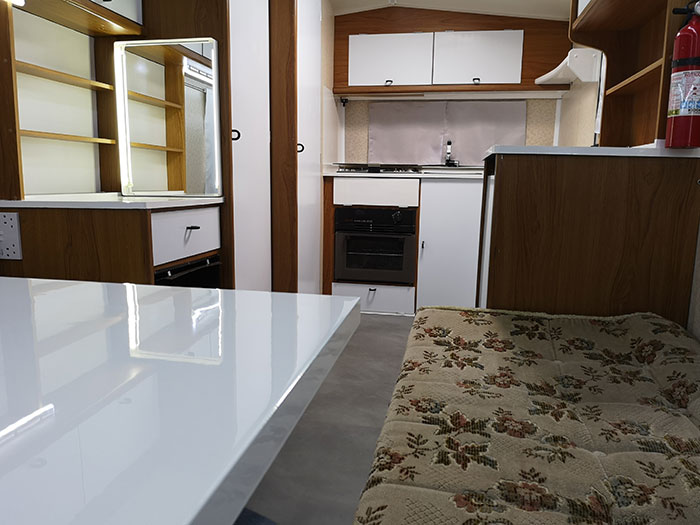
This is the kitchen area. As you can see, here the renovations make just as much as an impact.
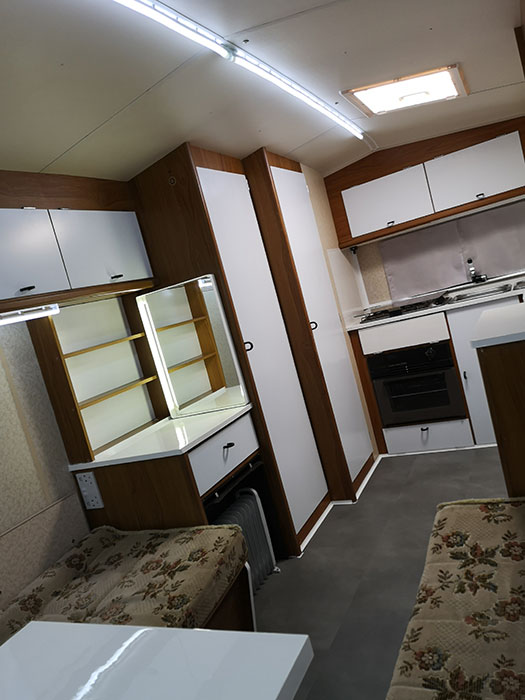
My husband moved the sockets on the side of the cupboard. Before, they were on top and it was a bit harder to use the space on top of the cupboard. The new sockets have 2 USB ports to make charging the phone or tablet easier. The mirror is also new and my husband installed two lights, on the sides. This will be amazing when I’m applying makeup, that’s for sure.
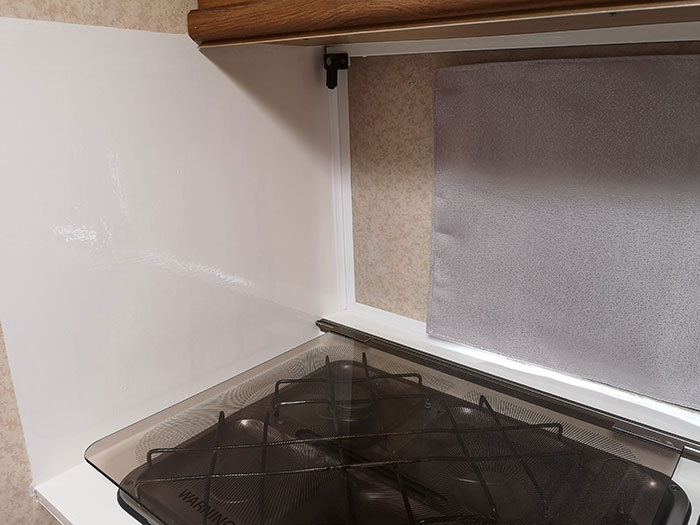
In the kitchen, we’ve removed the side splashback and we’ve painted the side of the wall with a very resistant paint. I wanted to take down the brown frame that was supposed to cover the curtain rail. I think it looks so much better without one. These are the light grey curtains I’ve made. For the kitchen and the front door. It’s a blackout fabric, just as we had before.
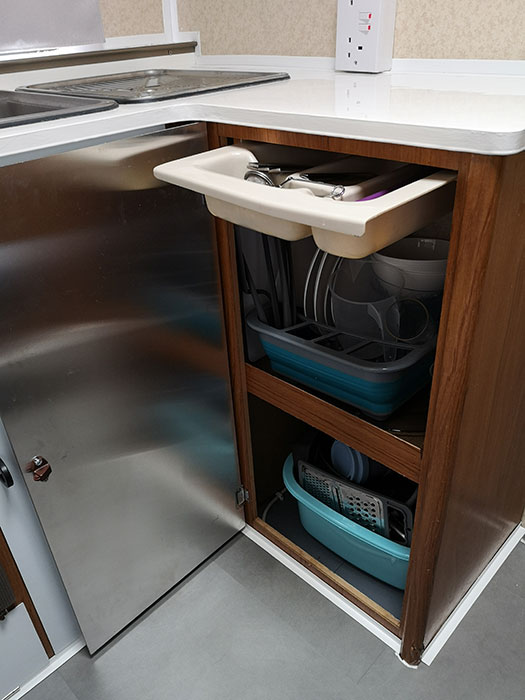
I made a few changes in the cupboards as well. I think it’s better to keep the drainer in the cupboard, to help with storage instead of leaving it on the drainer. It means that I will have to dry and put the plates away, but it’s not too much of a hassle.
The new carpet is a small piece that was left over when we’ve changed the carpet on the upstairs landing. I thought it would look nice and, of course, it does have an additional purpose. When moving the caravan, the table needs to be taken down. When we bought the caravan, it had a different table, slimmer and longer, but it was too long for us and it was brown. So, we’ve changed it with this one. This one doesn’t fit in the place that the other one had, so I’m placing the table on the carpet. It stays in place, without any issues. I checked when we moved it to storage after the caravan renovations were done.
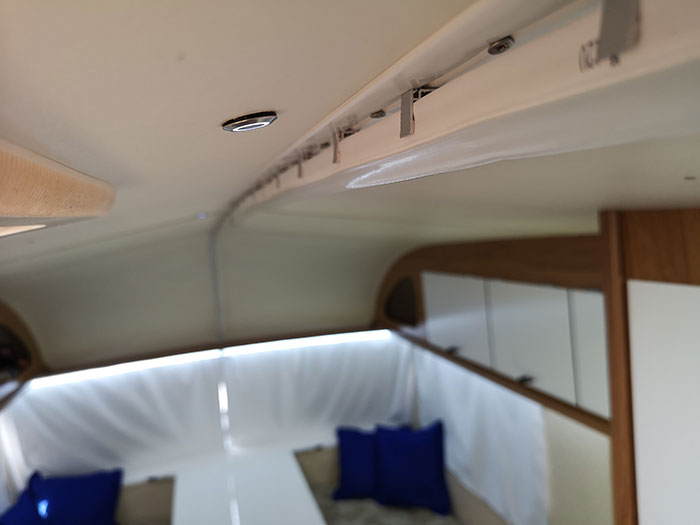
The ceiling lights were one of the main reasons we’ve starting doing these renovations. We’ve used pretty buttons for the lights, both for the ceiling and for the mirror. These buttons have a light around them when they are not on, so it makes it easier to find them when is dark outside. It should be very helpful.
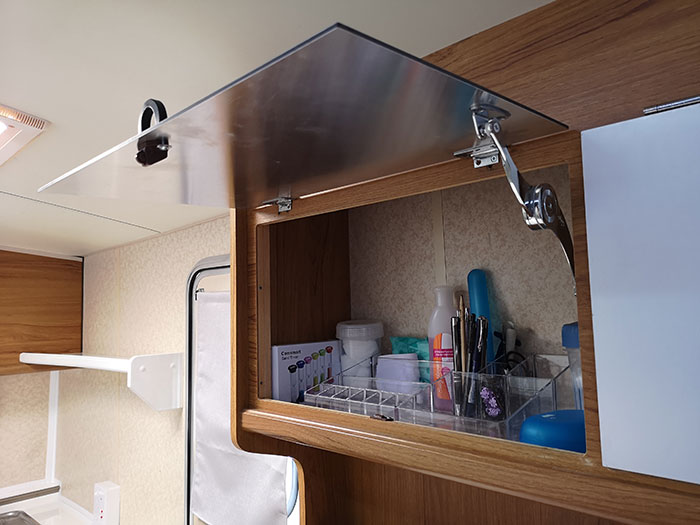
The new doors are different than the ones we’ve had before. These are metal sheets, made to order. They are lighter than the previous ones and that is great, as bringing down the weight of the caravan is always a good thing. My husband also installed some fancy new brackets to keep the doors open. Remember my makeup organizer from two years ago? I’m still using both of them.
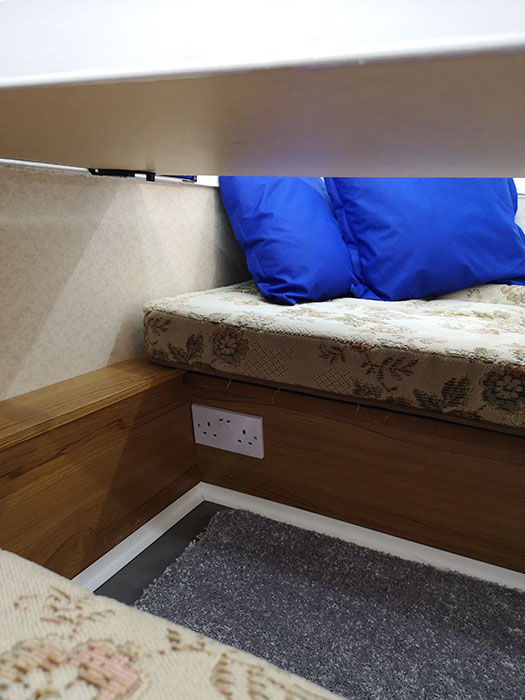
Besides the new sockets with the USB ports, I wanted to use the old socket too, but in a different place. This is perfectly located at the front of the caravan, where we didn’t have any sockets before. These will be used only during daytime, as in the evenings they will be under the bed.
I’m loving the caravan. We bought the flooring on offer. It contains plastic and, thus, it has a high lifespan and it is waterproof. It should look great for the next 20 years or so. This flooring is also less heavy than the wooden flooring we had before.
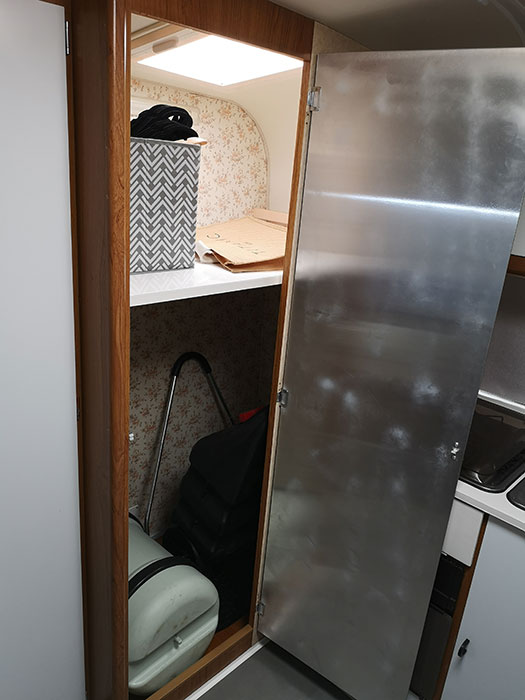
We finally transformed the bathroom as well. We never used it as bathroom and we’ve had a pop-up wardrobe before. That pop-up, fabric wardrobe wasn’t as long lasting as we hoped. So, now we’ve changed the bathroom and made it into a big wardrobe.
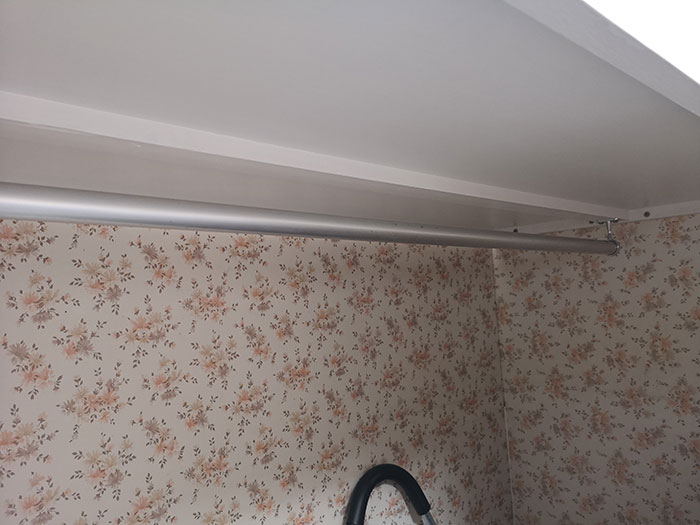
First of all, we have now a very long clothes rail underneath a large shelf.
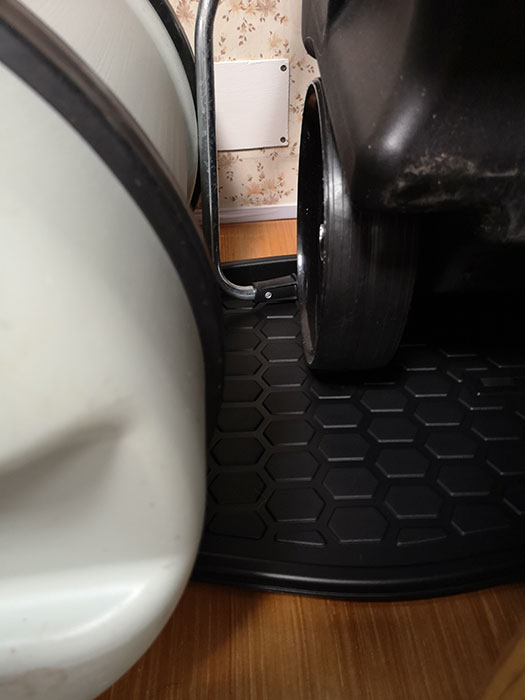
We’ve removed the old vent as it was not needed any more. We replaced the shower tray with a wooden panel that was treated for moisture on both sides. I also got a new shoe tray, just to keep everything clean easier. The water hog and waste hog are outside when we are camping, of course. We got those in February and they are really amazing. I can give them a quick wash before putting them back into the caravan. It’s really easy to maintain it clean.
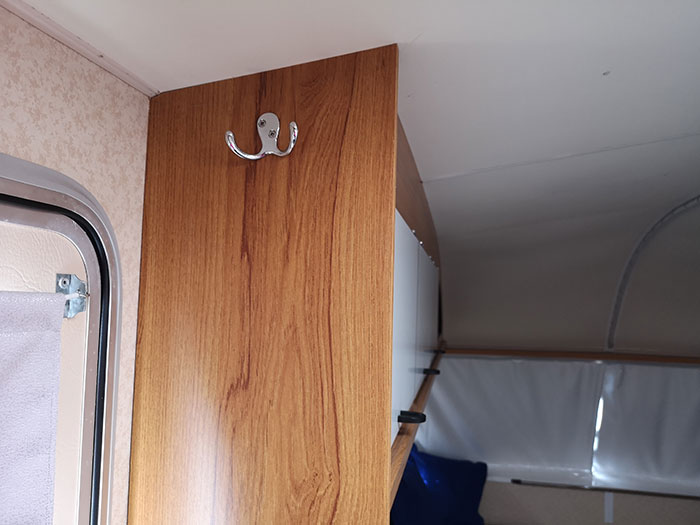
We were keen to make everything work for us, so we’ve paid attention to even small details, like changing hooks and installing a new one near the door. We’ve also changed the seals on all the windows and the door.
The caravan renovations were hard work, but it was so worth it. I can’t wait to have our first camping trip in our newly refurbished caravan.


Wow, you have done so much!!!! It looks great! Why did you not like using the bathroom? Do you use showers at the campside instead? I can understand that!
Thanks 🙂 The bathroom in the caravan is small for a bathroom, so we’ve always used the facilities at the campsite. At the ones we’ve been to the bathrooms were cleaned daily and the showroom is big, with a shower area and another place for storing the clothes. By transforming the bathroom into a permanent wardrobe I have plenty more space for my clothes and shoes and handbags. I’m delighted with that, as, for me, “packing light” means getting only 3 handbags instead of 4.
Look very nice. What a great way to update it! Have fun for your first camping trip!
It all looks so fresh and bright now. Good job!! Do you have any photos of the outside? (You may have posted some before I started reading here.)
Thank you Kelly. I didn’t post pictures with the outside. There is one in this post: https://ancaslifestyle.co.uk/caravanning-for-the-first-time/ In the first picture is the last caravan on the left. 🙂
Thanks for providing the link, Anca. It looks like a good size – big enough to be comfortable, but not so big as to be hard to maneuver. I enjoyed seeing Festus in those photos, too. 😀